Deploying R Markdown Online
Filed under:
R Markdown is a great tool for creating a variety of documents with R code and it’s a natural choice for producing blog posts such as this one. However, depending on which blog software you use, you may run into some problems related to the file paths for figure images (such as ggplot charts) which will require tweaks in your R Markdown workflow.
This blog post demonstrates a simple solution to this problem that will also give you central control over R Markdown knit settings across your site. I use this solution for this blog and a GitHub repository of data science resources. You can also find the R Markdown file that generated this blog post here.

Note that in this post I will be talking about implementing a solution for a Jekyll blog that is hosted via GitHub pages. Some modifications may be required if you are using another blog or website platform. However, this solution should be adaptable to all blogs or websites that use Markdown.
For Jekyll there are two steps to building web content (HTML) from an R Markdown file. The first is to knit the R Markdown (.Rmd) file which creates the Markdown (.md) file. The second step is to use the jekyll build command to create HTML content which is what will be displayed online.
1. Knit:          R Markdown (.Rmd) ---->  Markdown (.md)
2. Jekyll Build:  Markdown (.md)   ---->  HTML (.html)
The Problem
When I first used R Markdown to create a post for this blog, none of my figures showed up in the post. The issue was that Jekyll creates the HTML file for a blog post in a different location than the R Markdown (.Rmd) and Markdown (.md) files and this breaks figure file paths. This blog post describes the problem in more detail.
Also, by default R Markdown stores files for figures two folder levels deep using the R Markdown file location as its root (ie. <rmarkdown-filename>_files/figure-gfm/image.png). I find it more convenient to organize figure files in a separate root directory from my R Markdown files and store the images only one folder level deep (ie. /rmd_images/<rmarkdown-filename>/image.png). You can see this folder structure in action here (posts are in the _posts folder and figures are in the rmd_images folder).
The Solution
This solution uses a single R script file (.R) which contains knit settings adjustments and is referenced by all R Markdown (.Rmd) files. This allows you to edit knit settings in one central location and use these settings whenever you knit an R Markdown file. Modifications are made to the knit process so that figure image files are saved in a well organized folder structure and the HTML files display figures properly.
The contents of this central R script which I have named rmd_config.R is below. It lives in the root directory of my Github repository and the contents of this file will be run (via source) when each R Markdown file is knit.
# get name of file during knitting and strip file extension
rmd_filename <- stringr::str_remove(knitr::current_input(), "\\.Rmd")

# Figure path on disk = base.dir + fig.path
# Figure URL online = base.url + fig.path
knitr::opts_knit$set(base.dir = stringr::str_c(here::here(), "/"), base.url = "/") # project root folder
knitr::opts_chunk$set(fig.path = stringr::str_c(file.path("rmd_images", rmd_filename), "/"))
Here is what is going on in the above script:
- The filename of our R Markdown file is extracted using
knitr::current_input()and stored in the variablermd_filename(str_removeis used to remove the .Rmd file extension). - The here package establishes our ‘base’ directory (the root folder of our GitHub repository). The base directory path could change based on which computer we use and where we put our GitHub repository files so the here package allows us to automatically find this path.
- The
fig.path, which is where our figures will be stored, is set to a folder named after the R Markdown file being run that resides in the ‘/rmd_images’ root directory.
To utilize the above script in an R Markdown file, we simply insert the code below as a chunk into the R Markdown file. This will source the script to apply all the necessary knit settings when an R Markdown file is knit.
source(here::here("rmd_config.R"))
For a Jekyll blog, you’ll also want to include certain YAML header content such as tags or the title of the post. To do this we can use the preserve_yaml output setting in generating our .md file and then insert whatever YAML content we need into the header. Below is an example YAML header (the first part of your R Markdown document) which will generate a github-style (“gfm”) .md document. In this example I’ve added the fields “layout”, “title”, “date”, “author”, and “tags” which are all used by Jekyll in creating the blog post.
---
layout: post
title:  "Deploying R Markdown Online"
date:   2020-03-22
author: Jesse Cambon
tags: [ r ]
output:
  md_document:
    pandoc_args: ["--wrap=none"]
    variant: gfm
    preserve_yaml: TRUE
---
Note that the pandoc_args setting is to prevent the knit process from inserting extra line breaks into the Markdown file that don’t exist in our R Markdown file. The extra line breaks normally are invisible, but I found they showed up when I pushed content to R-Bloggers which caused paragraphs to be broken up.
One other note on Jekyll is that it uses the liquid template language. If you want to display characters on your blog that are used by liquid such as {{}} (R’s “curly-curly” operator) then you will need to wrap these problematic characters with the raw and endraw liquid tags as described here. This prevents Jekyll from attempting to parse these characters as liquid syntax and passes them on in raw form to the HTML file for display.
Conclusion
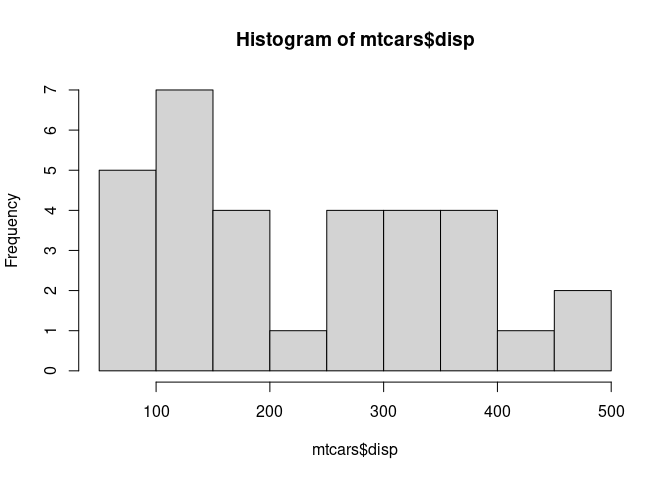
To see this solution in action, you can look at the GitHub repository that produces this blog here and the R Markdown file for this specific blog post here. To provide a self-contained example of a figure displaying, I’ve created a simple histogram plot below and you’ll find the image file neatly filed away in the rmd_images directory underneath a subfolder named after this blog post.
One caveat is that this approach does assume that each R Markdown filename is unique. If this is not the case then you’ll need to make some modifications to the central rmd_config.R file above; otherwise figure images from different R Markdown files may save in the same directory (and possibly overwrite each other). However, the solution described here is quite flexible and could be adapted to a variety of use cases with tweaks to the rmd_config.R file.
hist(mtcars$disp)
March 26 2021: this post has been updated with simplified R Markdown code.